
Skirting & Architrave
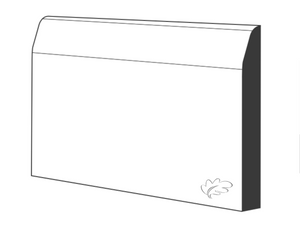
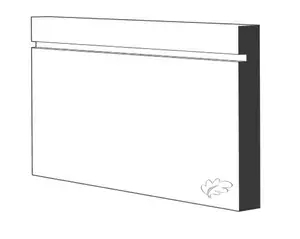
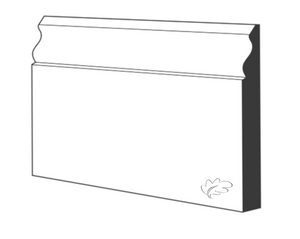
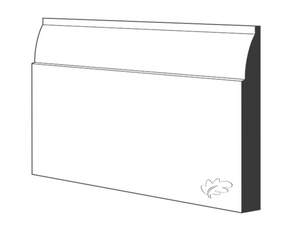
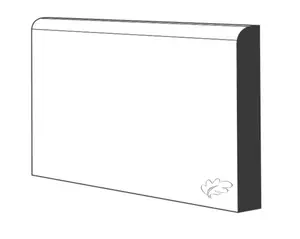
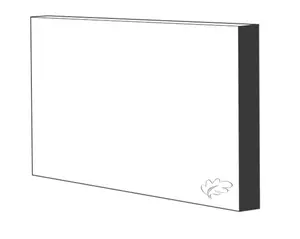
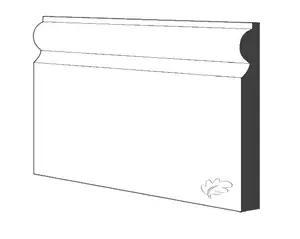
Our skirting boards range combines quality, choice, and flexibility for every type of project. We stock a wide selection of white primed MDF skirting boards in a variety of popular profiles, giving you a smooth, consistent finish that’s ready to paint. Primed MDF is ideal for both new builds and refurbishments, offering a cost-effective and durable solution that’s easy to install and gives a crisp, modern look.
If you’re looking for something more individual, we also offer a bespoke skirting service. Our skilled joiners can manufacture almost any profile to order, matching existing mouldings for restoration work or creating custom designs for contemporary interiors. These can be produced in a wide range of timbers, including premium hardwoods such as oak, walnut, and ash, as well as other popular species to suit your style and budget.
Whether you need standard MDF skirting for a quick installation or custom hardwood skirting boards for a high-end finish, we can supply the right option. With decades of joinery experience, we combine modern machining with traditional craftsmanship to deliver skirting boards that enhance both the look and value of your home.


How to Install Skirting Boards
For MDF/softwood skirting. Prime/seal all cut edges (especially MDF). For tight internal corners, use a coped joint.
1) Prepare & Plan
- Fit after floors; walls painted to undercoat.
- Mark studs (stud walls) or set plug points (masonry).
- Plan long runs and any scarf joints over studs.
2) Straight Runs
- Measure wall; square cut ends that meet architraves.
- Leave 1–2 mm movement at ends; caulk later.
- MDF: prime/seal all cut edges before fixing.
3) Internal Corners (Coped)
- Run first piece tight into the corner.
- Mitre the second at 45° to reveal the profile.
- Cope along the profile; back-cut ~5° for a tight face.
- Test fit; tweak with rasp/block plane. Prime cut MDF.
4) External Corners (Mitre)
- Check angle (not all corners are 90°).
- Cut matching mitres; glue faces; pin to hold.
- Add a short return on exposed ends for protection.
5) Fix to Wall
- Masonry: Grab adhesive + occasional plugs/screws or lost-head nails.
- Stud: Pin into studs (50–65 mm pins). Add adhesive for contact.
- Pack out hollows; keep the top line straight for neat caulking.
6) Fill, Caulk & Paint
- Fill pin holes/joints; sand smooth.
- Caulk along the top edge and corners; smooth immediately.
- MDF: spot-prime filled/cut areas; apply top coats.
- Use a scarf joint (45°) over a stud on long runs.
- Keep the top edge level; scribe the bottom to the floor.
- Prime MDF cuts before fitting for faster finishing.
- Gap at top: wall uneven — add adhesive, pin, then caulk.
- Open internal corner: re-cope; small back-cut helps.
- Visible long joint: replace butt with scarf over a stud.
Safety: Wear eye/ear protection; use dust extraction when cutting MDF. Detect pipes/cables before drilling. Note: Guidance is general; site conditions vary. Always follow manufacturer instructions and local requirements.