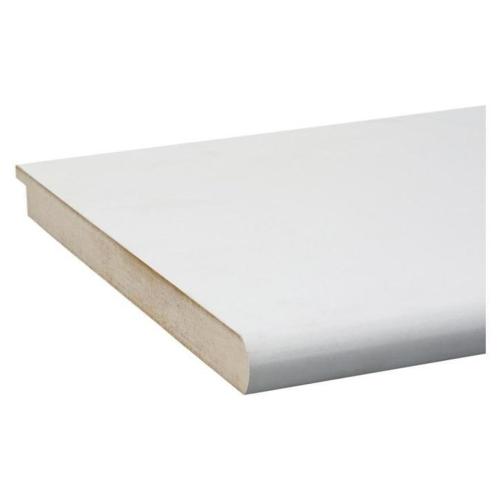
Timber & MDF Window Boards
Discover our premium Timber & MDF Window Boards, designed to give your windows a clean, professional finish. A window board (often called a window sill or cill) covers the internal base of a window, protecting the wall below from condensation, everyday wear, and minor knocks, while also providing a decorative ledge that completes the look of a room.
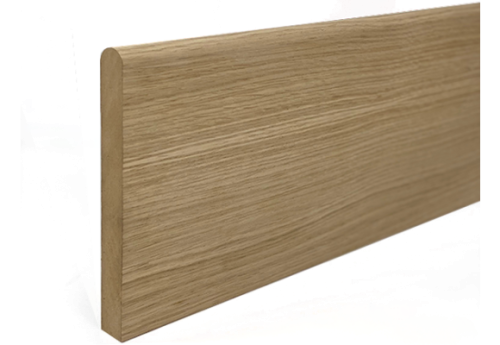
Our MDF window boards feature a moisture-resistant core and are factory-primed for easy painting. They are smooth, knot-free, and dimensionally stable—perfect for modern homes where consistency and a flawless finish are important. Timber options provide a natural, durable alternative where a traditional look is preferred.
Installation is straightforward: simply measure and cut the board to size, ensuring a snug fit within the window recess. Apply a suitable adhesive or mechanical fixings to secure the board in place, then seal edges with caulk or silicone for a neat finish. Once fitted, boards can be sanded lightly and painted to match your interior décor.
At TimberOnline (Nottage Timber Merchants), we stock high-quality window boards ready for quick delivery. With decades of experience, we help customers achieve a professional finish that’s built to last.
Tip: Always ensure edges are sealed properly to prevent moisture ingress and maintain a long-lasting finish.
How to Measure & Fit MDF Window Boards (White Primed)
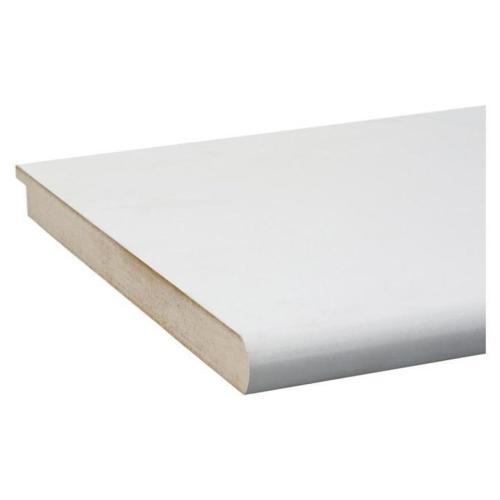
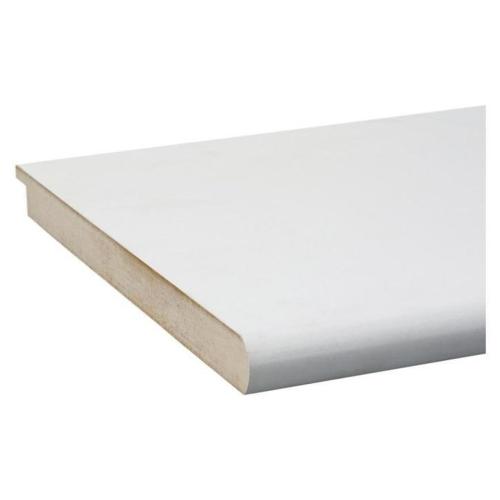
Our primed MDF window boards include a rebated back edge to help bridge old silicone/plaster at the frame. Do not cut the bullnosed front – if depth needs adjustment, trim from the back and re-form the rebate.
• 25 × 255 mm × 3.6 m
• 25 × 300 mm × 3.6 m
1) Measure
- Measure the width (left–right) of the opening at the front edge of the reveal.
- Measure the depth from frame to front of reveal.
- Decide if you want a front overhang (e.g. 10–25 mm) and/or a deeper projection for a stronger reveal line.
- Select the closest stock depth (250 / 255 / 300 mm).
2) Cut to Size
- Cut the width to suit – fine-tooth hand saw or circ saw with guide.
- Never cut the bullnosed front. If reducing depth, trim from the back edge only.
- After trimming depth, re-form the rebate (scribe a shallow notch) so it still bridges any silicone/plaster at the frame.
- Lightly sand all cut edges for a smooth, paint-ready finish.
3) Prime Cut Edges
Seal all cut edges (including the re-formed rebate) with an MDF primer. This prevents moisture ingress and gives an even top-coat.
4) Fit the Board
- Dry-fit first. The back rebate should sit over any old silicone/plaster line at the frame.
- Apply a suitable grab adhesive on the underside and to contact points.
- Press into place, check for level and front projection/overhang, then weight/clamp until set.
- Run decorators caulk down both reveals for a neat finish.
5) Finish
- Lightly de-nib, then apply your chosen top coat over the factory primer.
- If you’ve oversized the front for a reveal, keep the line consistent across the window.
- Consider adding a small moulding under the nose if you want a more traditional look.
- Store boards flat & dry before fitting.
- Prime cut edges and re-formed rebate with MDF primer.
- Allow a small front overhang if desired (10–25 mm typical).
- Dry-fit and check level before adhesive cures.
- Don’t cut the bullnosed front.
- Don’t leave unsealed MDF edges exposed to moisture.
- Don’t force the back tight to messy silicone – use the rebate to bridge it.
Tip: For deep reveals or uneven plaster, scribe the sides for a tight fit. If reducing depth significantly, a block plane/scribe and a careful rebate cut at the back give the best result while keeping the front bullnose intact.


