Sawn and Treated Timber
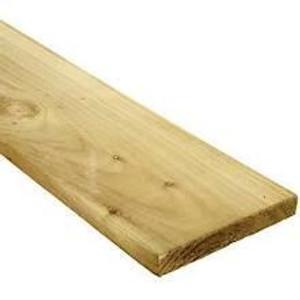
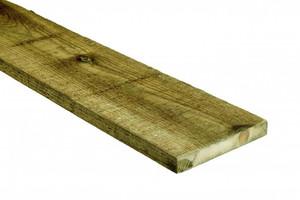
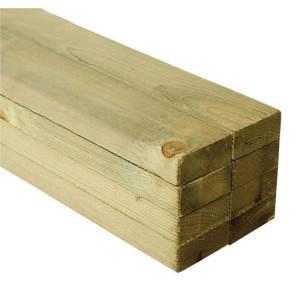
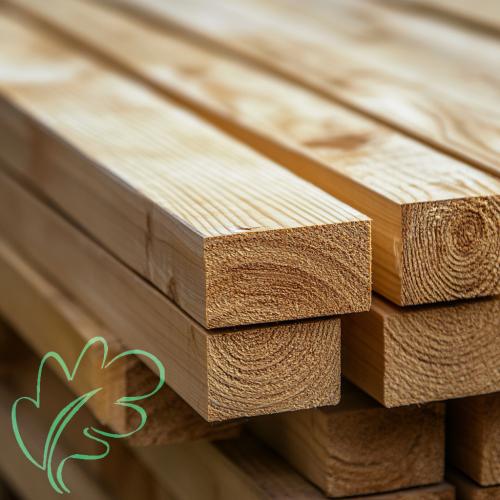
Discover our Rough-Sawn & Treated Timber, a rugged yet reliable option for outdoor and structural projects. Each board is sawn directly from the log—leaving a natural, textured finish with visible saw marks, splinters, and inherent character. This rough surface gives the timber a rustic look and keeps costs lower than planed alternatives.
Our timber undergoes pressure treatment to resist rot, insects, and fungal decay—ideal for use in exposed environments. Depending on the grade (e.g. UC2, UC3u, or C16/C24), it’s suitable for everything from shed walls and fence rails to structural carcassing and deck joists
While the rough finish means you’ll need to sand or plane the surface for a smoother appearance, it also offers greater versatility for DIYers and professionals alike—letting you customise dimensions and profile to your needs.
For optimal lifespan, fit your rough-sawn boards above ground level (e.g. on gravel boards or bearers), and always follow best practices for building moisture-aware structures to prevent decay.
Tip: For structural or visible applications, consider using planed timber or finishing rough-sawn pieces by sanding and sealing to achieve both aesthetic and performance quality.
How to Build a Simple Raised Bed (with Rough-Sawn & Treated Timber)
A quick, sturdy planter for veg, herbs, or flowers. This guide uses stocked rough-sawn & treated timber (boards and posts) and standard exterior fixings. Adjust the size to suit your garden.
Materials
- Rough-sawn & treated boards (e.g. 22×150 mm or 25×150 mm)
- Treated posts/pegs for corners & mid-spans (e.g. 75×75 or 100×100 mm)
- Exterior screws (A2/A4 or green-coated) & angle brackets (optional)
- Weed-control membrane / liner (optional but recommended)
- Topsoil/compost mix
- Gravel or hardcore for drainage (optional)
- End-grain preservative for cut ends
Tools
- Saw (hand or circular) & drill/driver
- Tape, square, pencil & string line
- Spade/shovel & tamper
- Level & mallet
- Safety gear (gloves, glasses)
Step-by-Step
- Plan the size. Common heights are one or two boards (e.g. 150 mm or 300 mm). Mark out the footprint with string and pegs.
- Prepare the ground. Remove turf, level the area, and lay a compacted layer of gravel if drainage is poor. Add a weed-control membrane if desired.
- Cut your boards. Mitre corners (optional) or use square butt joints. Pre-drill to reduce splitting.
- Fit corner posts. Cut short internal posts (e.g. 450–600 mm long). Stand them just inside each corner, tops flush with the finished bed height.
- Assemble the first course. Fix the long sides to corner posts, check square, then fix the short sides. Use 2–3 screws per joint.
- Add mid-span posts. For longer sides, add internal posts ~1.2–1.5 m apart for stiffness. Fix boards to these posts as you go.
- Build additional courses. Stagger board joints where possible. Treat all cut ends with end-grain preservative before fixing.
- Line & fill. Line the inside (optional) to reduce soil contact and extend life. Fill with soil/compost mix and water in.
- Finish. Top off with a neat edge, cap, or chamfer if desired.
Quick Estimator (Boards, Posts, Screws, Membrane & Soil)
This gives an indicative shopping list. Adjust to your preferred board/post sizes.
Notes: For components in direct ground contact (posts/boards), consider UC4 treatment. Line the interior to reduce soil contact and extend life. Treat cut ends with end-grain preservative. Figures are indicative and may need adjusting on site.
Disclaimer: Guidance only — may not reflect the latest standards or your site conditions. Check with a competent installer and local requirements where applicable.

_1753260460.jpg)
